PRODUCTS
BASS
XR BASS
XCLUSIVE PRO BASS
HYPER-LIFT BASS
XPLORER BASS
BAY
XR BAY
X-BAY/X-BAY LOUNGE
HYPER-LIFT BAY
HYPER-LIFT H210 BAY & H190 BAY
SHALLOW WATER BAY
XPLORER CC
SKIFF
CRAPPIE
HUNTING
XCLUSIVE DUCK BOAT
BAYOU
HD DUCK
DBX
CATFISH
2025 MODELS
TRAILERS
ABOUT US
WHY XPRESS
XPRESS DIFFERENCE
PERFORMANCE
CONSTRUCTION
PRO STAFF
XO
2026 BOAT SHOWS
LOCATE A DEALER
REQUEST CATALOG
OWNERS
OWNER’S MANUAL
FAQ
APPAREL
CAREERS
CONTACT
Menu
Menu
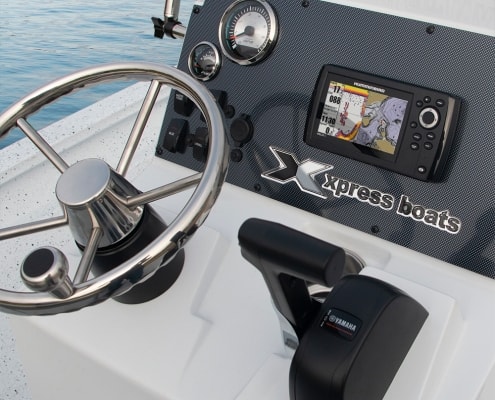
Hyper-Lift H190 Bay Console
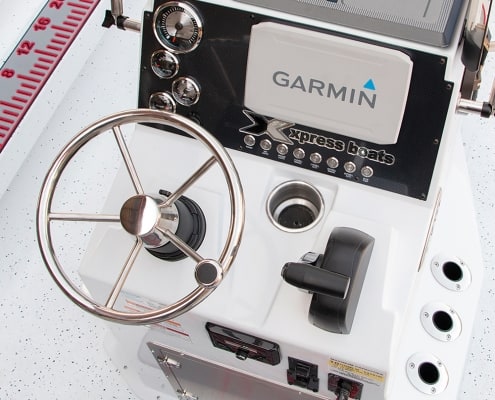
Hyper-Lift/Shallow Water Bay Console
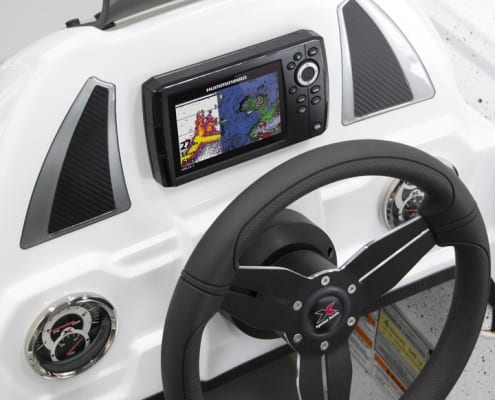
Hyper-Lift Bass/Crappie Console
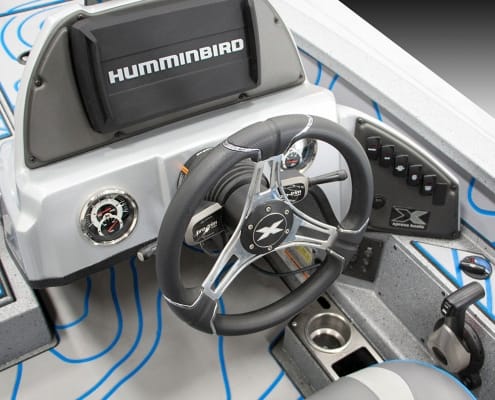
Xclusive Pro Bass Console
Scroll to top
Scroll to top
Scroll to top